Routers: LAN Settings
This article describes how to configure LAN Settings for a Datto Router. Use this article as an aid for setting up Datto D200 routers on your network.
Environment 
- Datto Network Manager
Description
Datto routers allow for one configurable LAN per port. All ports can operate on the same LAN, or across multiple unique and segmented LAN instances.
Procedure
Navigation 
In Datto Network Manager's Navigation menu, click Routers, then select LAN Settings from the expanded options.
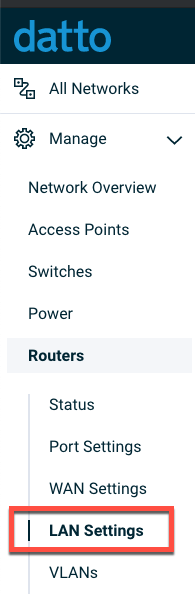
Figure 1: The Navigation menu
Configuration
The Router LAN settings page contains a table displaying all LANs associated with a router. The table includes the following information about the router's LANs:

Figure 2: Router LAN table
- Name: Shows the name of a LAN
- Assigned LAN port(s): Displays what ports are assigned and using a LAN
- Actions: Click the ellipsis icon to delete a LAN
Adding a LAN
To add a LAN configuration, follow the steps below:
1. Click the Add LAN button.
2. Assign a port to the LAN by selecting the checkbox next to the port number. If a port is assigned to another LAN, you must unassign it first.
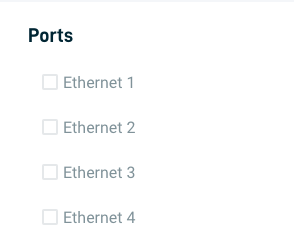
Figure 3: Assigning ports to a new LAN
3. Under IP Settings, enter the IP addresses for the LAN's gateway and subnet mask.
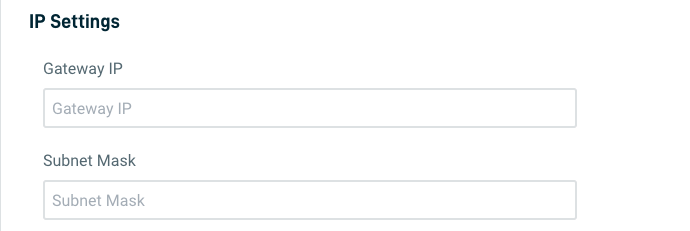
Figure 4: LAN IP settings
4. Select the Enable DHCP checkbox to enable and configure DHCP:
- Enter IP addresses for a DHCP pool start and end. A DHCP pool requires a start IP address when setting both a DHCP pool end & a DHCP lease time. If necessary, you can also reserve IP addresses outside this DHCP pool, as long as they are on the same subnet.
- The DHCP lease time is the amount of time (in minutes) a device can use a DHCP-supplied address on the network. Enter a DHCP lease time with a minimum of 5 minutes and a maximum of 10080 minutes (7 days).
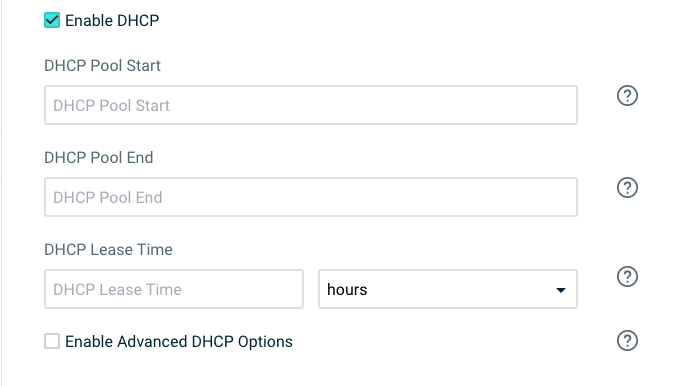
Figure 5: DHCP settings
5. Advanced DHCP Options: Select the Advanced DHCP Options checkbox to enable and configure the following options:
- Option 6 (DNS Server): Enter a DNS server IP address.
- Option 33 (Static Route): Enter a destination and gateway IP address.
- Option 42 (Time Server): Enter a time server IP address.
- Option 66 (TFTP Server): Enter a TFTP server IP address, or a URL up to 250 characters.
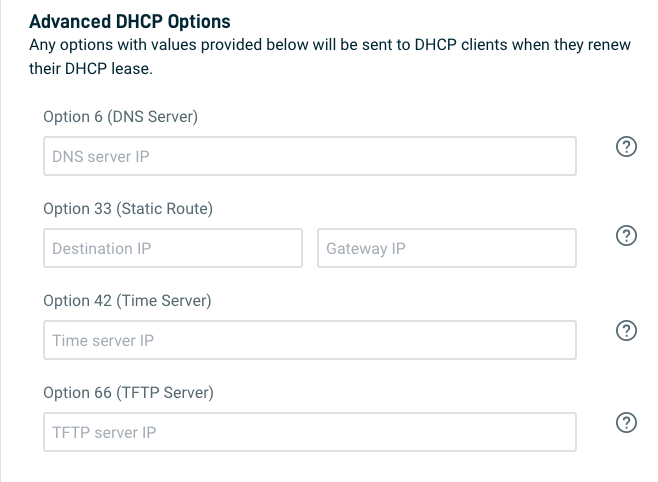
Figure 6: Advanced DHCP settings
DHCP Reservations
DHCP Reservations let you reserve IP addresses in a DHCP pool for specific devices, ensuring that:
- only the intended device will have that IP address.
- another device will not receive that address.
To add a DHCP reservation:
- MAC: Enter the device's MAC address.
- Device Name: Enter the device's name.
- IP: Enter an IP address that is part of a configured DHCP pool, and that you would like reserved for the device.
- Add/Remove: Click Add to add the rule. Click Remove to remove an existing rule.

Figure 7: DHCP Reservations


