Setting Up a Client VPN for DNA via Mobile Device
This article describes how to the steps to set up a client VPN for your Datto Networking Appliance by using your Android or iOS device.
Environment 
- Android
- iOS
Description
For instructions, select the OS version of the mobile device that you are using.

-
To set up a new connection, in your Android phone, navigate to Settings → Connections → More Connection Settings.
-
Click VPN → ⋮ → Add VPN Profile.
-
In the Server address field, input the value found at Status → Router Details card → ASSIGNED PUBLIC ADDRESS in the DNA management interface.
-
In the Username and Password fields, input the credentials from the Networks → Client VPN card in the DNA management interface.
-
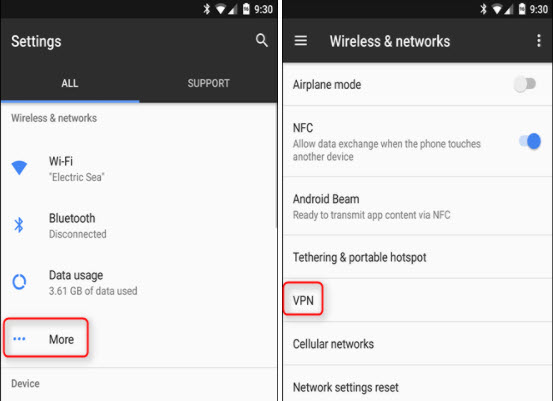
On an Android device, open Settings and select More. On the Wireless & networks page, tap the VPN option.
-
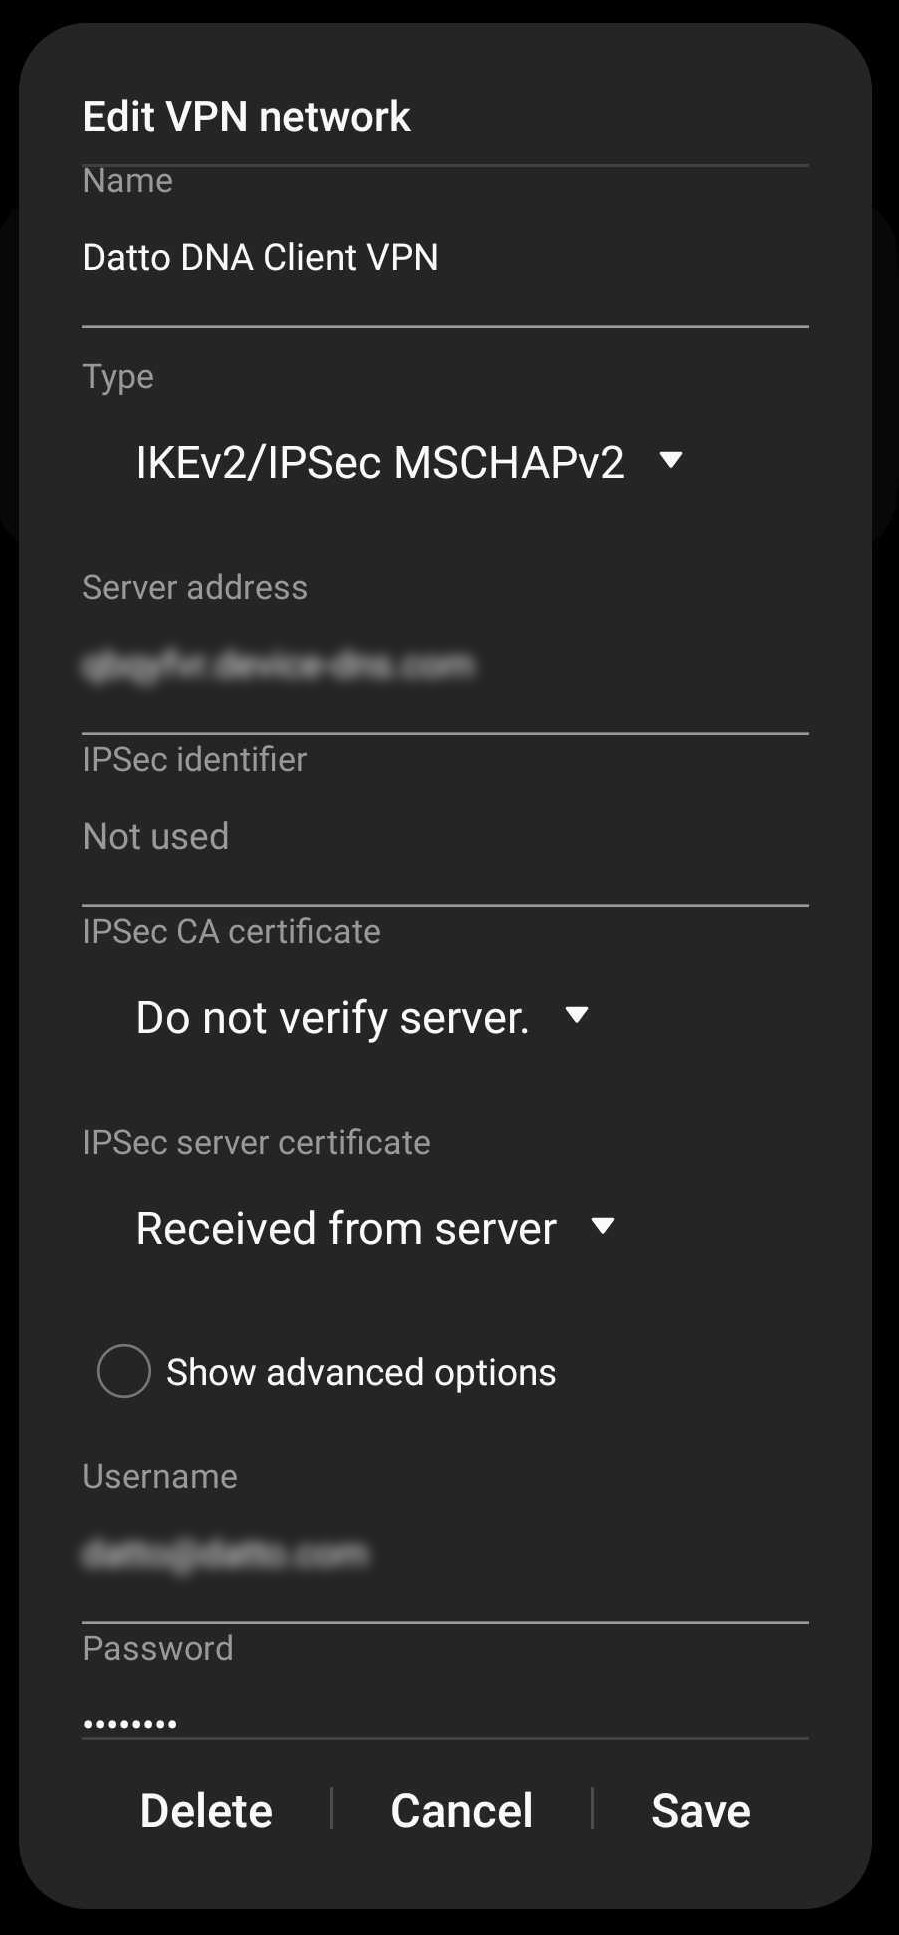
On the Edit VPN profile screen, complete the fields with the details found in the DNA's management console at Networks > Client VPN. When adding the server address, use the Assigned Public Address value. You can find this information in the management console under Status > Router Details.

-
On an iOS device, navigate to Settings > General > VPN & Device Management > VPN -> Add VPN Configuration.
-
Complete the fields that populate with the information that appears in the DNA's management console at Networks > Client VPN. When adding the server address, use the Assigned Public Address value. You can find this information in the management console under Status > Router Details.


