Routers: WAN settings
This article describes how to configure WAN Settings on a Datto router, including IP address assignment and configuration.
Environment 
- Datto Routers
- Datto Network Manager
Description
The Router WAN Settings page lets you set networking parameters for your router, including IP address, subnet mask, gateway, and 1:1 NAT. These settings are available for both static and DHCP configurations.
Procedure
Navigation 
In Datto Network Manager's Navigation window, click Routers, then select WAN Settings from the expanded options.
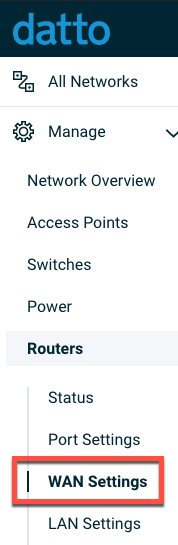
Figure 1: The Navigation menu
Configuration
Use the Connection Type dropdown to configure the WAN interface for DHCP or a static IP setup.
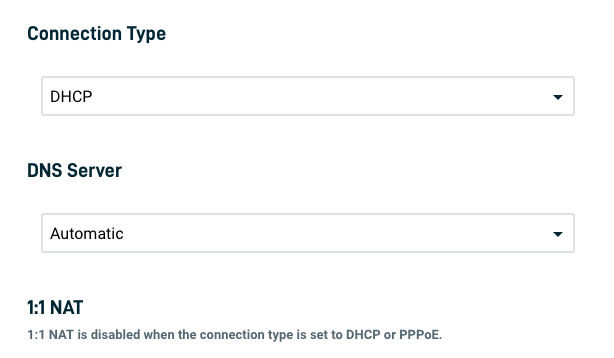
Figure 2: Connection Type & DNS Server drop-down menus
DHCP
When you select DHCP, the router will automatically configure its IP address, subnet mask, and default gateway for the WAN interface. Routers are capable of assigning 1,022 total IP addresses.
Manually configuring a static WAN
Selecting Static IP lets you configure the following networking settings for the router's WAN interface:
- Primary: Select the primary set of configurations for the WAN interface.
- WAN IP: Enter a WAN IP address.
- Subnet Mask: Enter the subnet mask of the WAN interface's network.
- Default Gateway: Enter the WAN interface's default gateway.
- Primary DNS server: Enter the primary DNS server the router will use to resolve a hostname.
- Backup DNS server: Enter a backup DNS server to use if the the primary is unreachable.
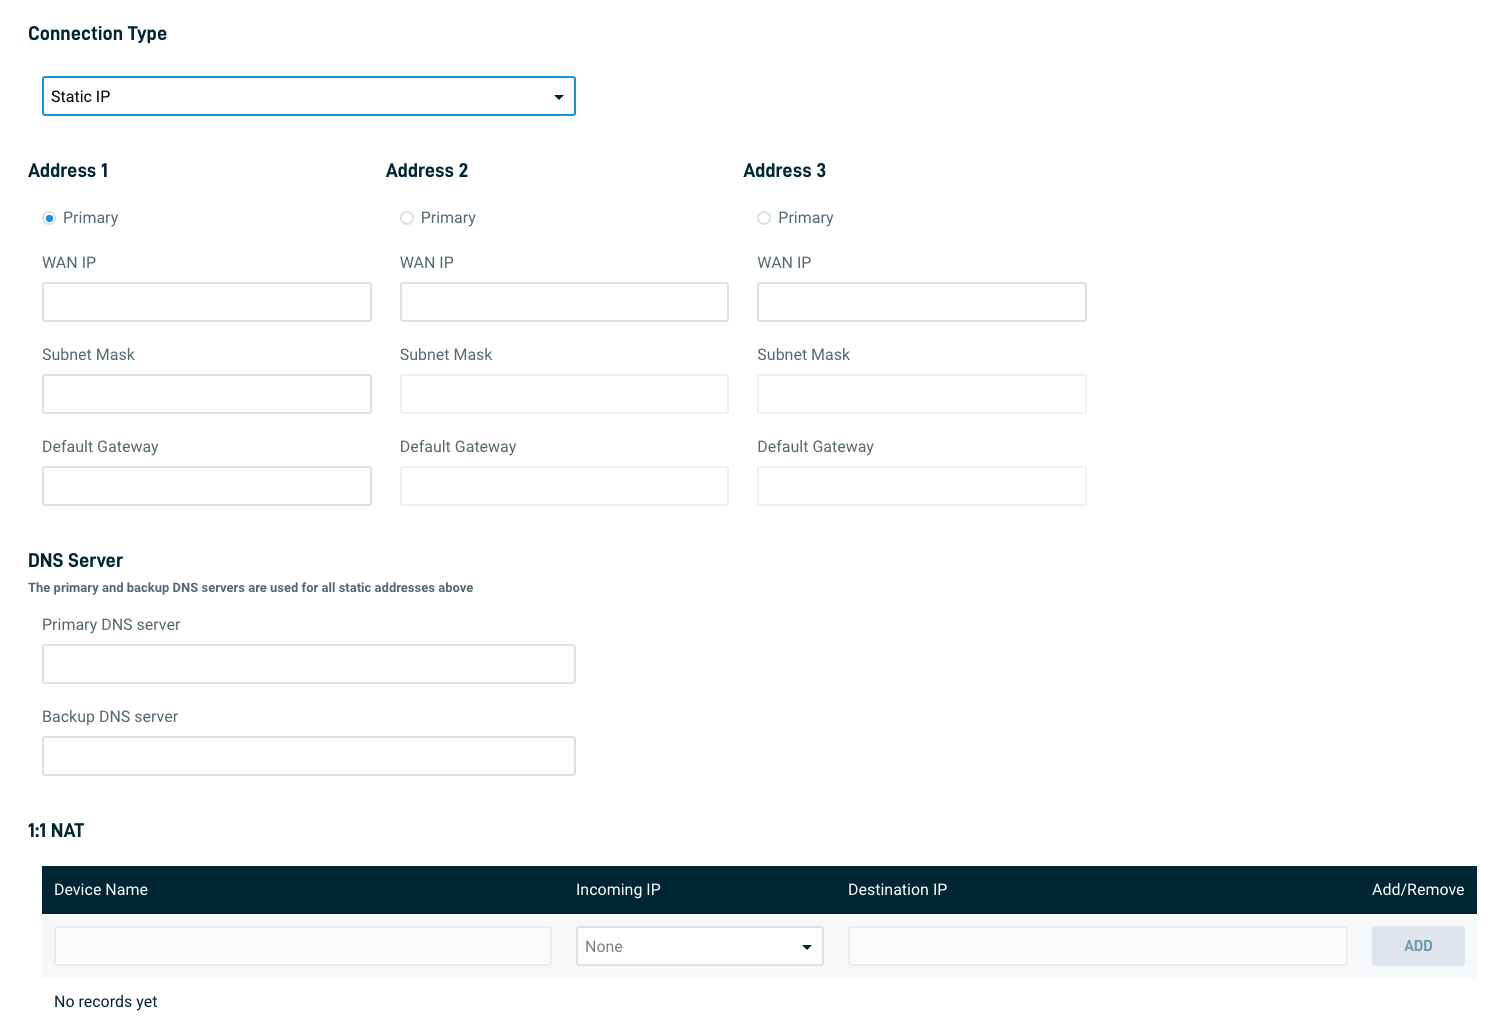
Figure 3: Static IP settings
Configuring a static WAN with the WAN Wizard and SSH
If you cannot get the router online to download the configuration from Network Manager or you prefer configuring the router directly, follow the local WAN configuration process described below.
1. Acquire an SSH utility such as PuTTY.
2. Connect to the router via one of its LAN ports.
3. Your client should receive a DHCP lease from the router; you can statically configure your computer with an IP in the router's default LAN IP network (192.168.86.0/24).
4. SSH to the router's LAN IP address: 192.168.86.1 on port 1968. The default username is: "openmesh," and the default password is: "portland." Once the router has checked in to Network Manager, it will change the password to the root password found in Configure ? Advanced.
5. Once you are logged in, the wizard will start.
6. Follow the wizard, entering the desired WAN and IP settings when prompted.
PPPoE
Point-to-Point Protocol over Ethernet (PPPoE) is a specification used to authenticate a networking device to an Internet Service Provider (ISP). Selecting PPPoE will allow you to enter the following information:
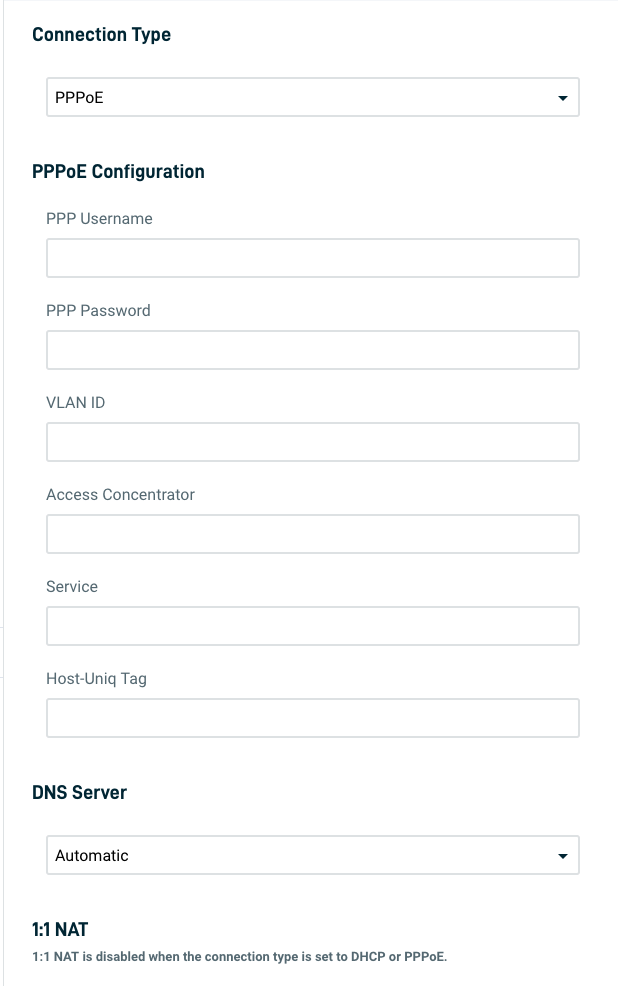
Figure 4: PPPoE settings
- PPP Username: Enter the username associated with your ISP. This is a required field.
- PPP Password: Enter the password associated with your ISP. This is a required field.
- VLAN ID: Enter the VLAN ID associated with your ISP (requires router firmware 1.1.0 or higher). This is an optional field.
- Access Concentrator: Enter the access concentrator associated with your ISP. This is an optional field
- Service: Enter the service name associated with your ISP. This is an optional field
- Host-Uniq Tag: Enter the host-unique tag related to the access concentrator and your ISP. This is an optional field
DNS
When selecting DHCP or PPPoE, you can choose one of two DNS options using the DNS Server dropdown:
- Automatic: The router will automatically obtain and use DNS servers via DHCP
- Manual: The router will use the DNS servers entered in the Primary DNS server and Backup DNS server fields, as shown in Figure 3.
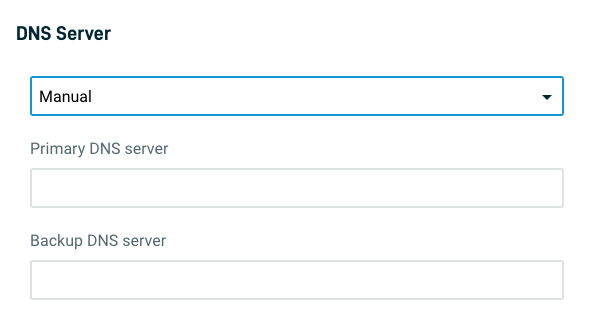
Figure 5: DNS Server
1:1 NAT
1:1 NAT is a feature for static IP configurations that lets you redirect traffic from a pool of external IP addresses to an internal IP address using Network Address Translation (NAT). This feature allows you to run multiple services, such as some VoIP services and web servers, on the same port.
To enable this function you must select the Static IP connection type and fill in two or more of the available Address sections.
Configuring 1:1 NAT
1. Configure at least one set of static IP settings, and click Save Router Settings.

Figure 6: 1:1 NAT
2. Device Name: Enter a name associated with the rule.
3. Incoming IP: Select an incoming external IP address to forward.
4. Destination IP: Enter a private IP address.
5. Add/Remove: Click Add to add the 1:1 NAT rule. Click Remove to remove an existing practice.


