Setting up a Datto Switch
This article explains how to set up and power on your Datto Switch.
For deployment information, refer to Managing your Datto Switch.
Before you begin 
Follow these best practices to maximize uptime and maintain adherence to your device warranty:
-
Make sure to install your switch indoors, in a well-ventilated and temperature-controlled environment. If you need to route cables through an outdoor environment, use shielded Ethernet to prevent static discharges on the cable from damaging the switch.
-
Use racking mounts if you're installing the switch in a network cabinet. Use the self-adhesive rubber feet for flat surface installs.
-
Always plug your switch into a surge-protected power outlet. Connect the switch and other core network infrastructure to an uninterrupted power supply (UPS) to provide continuity and prevent hardware damage from power issues.
-
You'll need to classify your switch's uplink Ethernet connection as untagged traffic providing DHCP. Otherwise, the cloud controller on the switch will be unable to check in and will be inaccessible via Network Manager.
-
Datto switches are designed to be placed behind a local router. Do not join them to the Edge WAN connection, or unexpected behavior may occur.
Deploy
1. Unbox
|
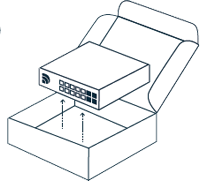
|

2. Rack mount or wall mount
|
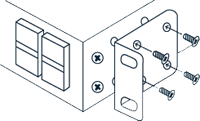
|
3. Power on
|
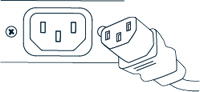
|
4. Network
|
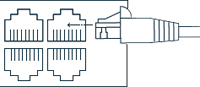
|
5. Activate
|
|
Need support?
Datto is always available to assist further. Your Datto Account Executive can enroll you in basic and intermediate-level Networking training. For technical assistance, visit our Datto Support article to learn how to get in touch.


