Access Points page overview
This article provides an overview of Datto Network Manager's Access Points page.
Environment
- Datto Network Manager
Description
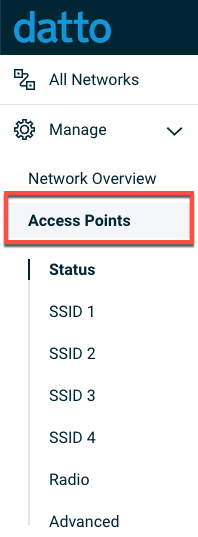
The Access Points page in Datto Network Manager lets you add and manage access points from a central location. To access, select Access Points from the navigation menu.
Access Points page overview
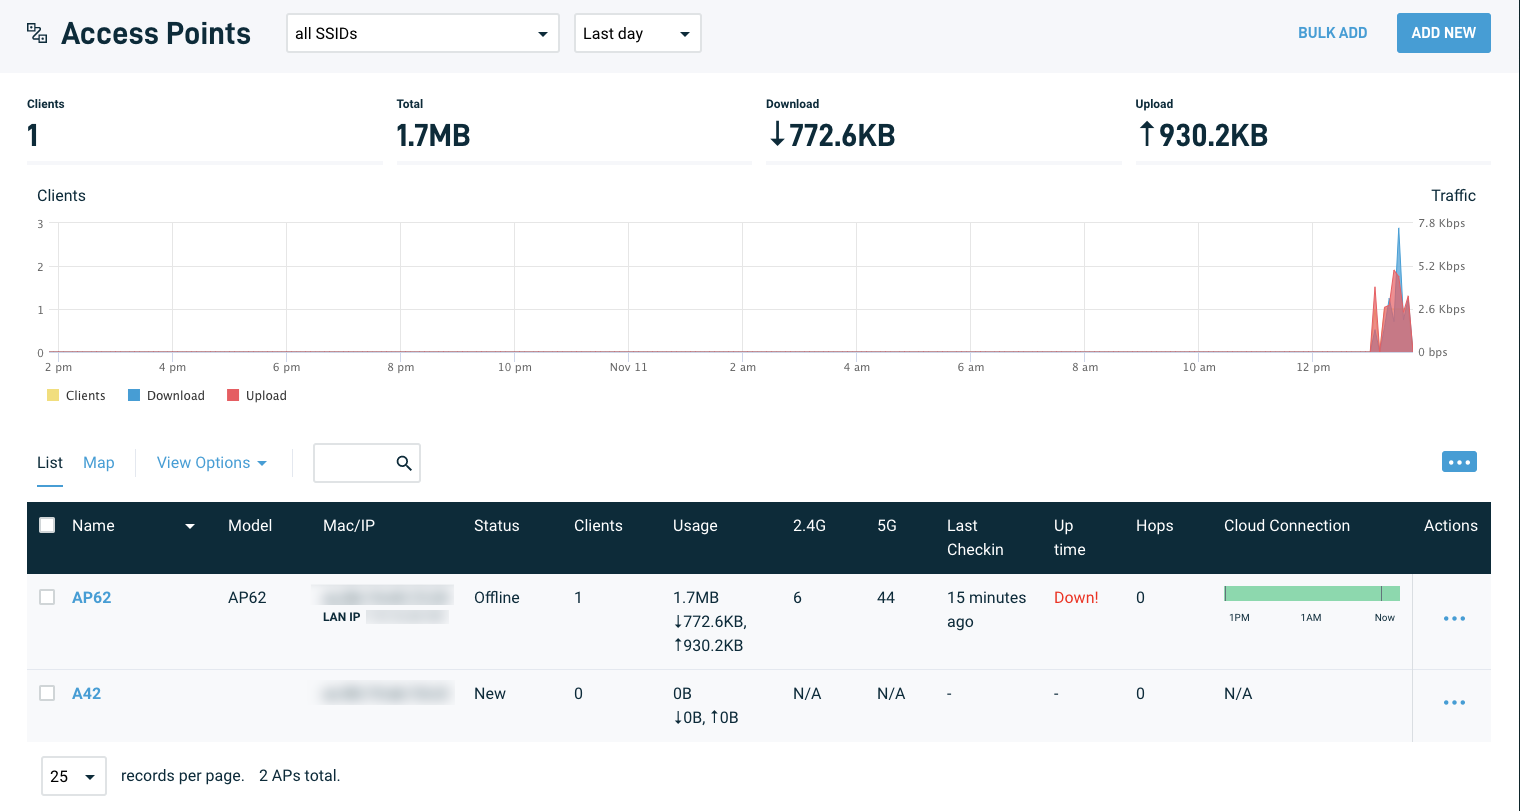
The Access Points page comprises two sections:
- A usage graph that provides a visual representation of activity on your active access points
- A device management list from which you can quickly view relevant data, and configure both new and active access points
The usage graph shows you detailed traffic statistics about your access points, including:
- the number of clients using access points on your network.
- the total bandwidth used via your access points.
- the amount of data downloaded through your access points.
- the amount of data uploaded through your access points.
The colored graph shows a minute-by-minute representation of data use across your access points.
The lower section of the Access Points page is a central hub that lets you:
- View an overview of access point data.
- Add and configure new access points on the network.
- Manage and configure existing access points.
Map View can be accessed with the pin icon and displays a Google map of the area in which your access points are deployed. The map has full Google map functionality, including satellite view, zoom, and scroll. Green squares represent the access points. Hover over any square to show the access point's name.
The Load/Memfree column
This display option specifies the number of processor cores in use (load), and the available RAM (memfree).
NOTE Auvik does not account for the number of available cores when reporting CPU usage for AP42/AP62 Access Points, this may cause unexpected results in reporting.
Actions
Via the three dot menu, the following options are available:
- Edit: Enables you to manage device details such as its name, locate mode and LED status, and radio channel and transmit power.
- Move to Network: Allows you to take the access point and move it to another existing network.
- Troubleshoot: Enables troubleshooting mode, which allows for fetching of traffic stats and client information from your APs and switches every minute rather than the standard five minute interval.
- View on Map: Loads the map view and highlights the access point.
- Reboot: Reboots the access point.
- Delete: Removes the access point from the network.
Access Point parameters
For more information on a specific Access Point or to make additional changes and set parameters, click on the Name of the Access Point. This will open the parameters page.
Selecting the pencil icon next to a field will allow to edit that field. For example, you can edit the name and MAC address by selecting the pencil icon within the section, entering the new value, and clicking Save Changes. 
Information about settings and fields found on this page can be found below
Enable this if the access point is installed outdoors. Ensures compliance with local regulations by avoiding certain channels or reducing power on certain channels to avoid interference with other wireless devices. Outdoor APs may move to different channels than the rest of the network if regulations require.
When disabled, this turns off LED lights on your AP.
Enables multi-color LED pattern to help you visually locate the access point.
The firmware version for the device is listed here. For more information and the latest release, refer to the Release Notes.
- Troubleshooting Mode allows for fetching of traffic stats and client information from your APs and switches every minute rather than the standard five minute interval.
- Troubleshooting mode can be enabled on one or more devices at a time within the AP Status or Switch Status pages. For APs, it can also be enabled on the AP fly out pane when a specific AP is selected.
- Troubleshooting mode keeps a one hour timer that counts down from the last time it was enabled for a device. So that means:
- If troubleshooting mode is enabled for Device A, and ten minutes later you enable Troubleshooting mode for Device B, the clock for the network will reset – so Devices A and B will then conclude troubleshooting mode at the same time, 70 minutes from when it originally was turned on for Device A.
- You can extend time for one or more devices. There is currently no limit to the number of extensions of Troubleshooting Mode.
The Edit access parameters screen includes a section showing the Channel / Load. The meaning of each status is found below.
- A channel load of healthy indicates the current channel broadcasting the wireless signal is a good choice. No action needed.
- A channel load of moderate suggests that occasional RF interference from other wireless networks broadcasting on the same channel may cause performance degradation for wireless clients. Consider changing the radio's channel to one that is less congested.
- A channel load of unhealthy suggests that frequent RF interference may occur from other wireless networks broadcasting on the same channel which may cause performance degradation for wireless clients. It is strongly recommended to change the radio's channel to one that is less congested.


