SafeCheck for Access Points with Datto RMM automation
Datto Networking's SafeCheck for Access Points leverages the Datto RMM Networking integration to perform a compliance check of devices that are attempting to connect to a Datto wireless network. This article provides an overview of the integration and describes the process to set up the feature in your Datto Networking instance.
Overview 
SafeCheck with Datto RMM enables you to ensure that only PCs running a Datto RMM agent are allowed to connect to your wireless network that's hosted by the Datto Access Points. When this feature is active, endpoints attempting to access a SafeCheck-enabled wireless will be reviewed to confirm they are being managed by Datto RMM. The device (identified by its MAC address) needs to show up as a Managed Device within Datto RMM to be allowed to connect to the network.
The access control lists fetched from Datto RMM are stored locally on the Datto APs. If there is a blip in connectivity between the APs and Network Manager, SafeCheck will continue using the last MAC address ACL provided from Network Manager.
Datto RMM periodically performs routine maintenance. If there is any planned or unplanned unavailability of the Datto RMM platform, SafeCheck will continue to function using the last MAC address ACL generated from the most recent queery to Datto RMM.
Considerations
This feature is only usable for networks where desktop-class operating systems (e.g., Windows, macOS, or Linux) are running on devices attempting to connect to WiFi. DO NOT use this automation on wireless networks where you will have a mix of desktop class, mobile, and/or Internet of Things (IOT) devices.
The following settings and capabilities are incompatible with and are kept turned off while SafeCheck is enabled:
- Vouchers
- Captive Portal
- Allow/Deny lists within Network Manager cannot be manually modified
- “Use Access Point Name†feature
Combined bands must be used. Splitting out bands into their own SSIDs (SSIDName_5G and SSIDName_24G) is not supported.
At anytime, the current MAC address list may be viewed by navigating to Access Points > SSID > Advanced > Access Control List.
Prerequisites
Before enabling SafeCheck with Datto RMM on a network:
-
Access points on the target network are required to be firmware version 7.0.22 or later.
-
Validate and confirm that one (or more) of four available SSIDs will be protected by SafeCheck. This means that only RMM-managed PCs will be able to connect successfully to these SSIDs. Setup and configure additional SSIDs without SafeCheck for mobile devices or IOT devices to connect to WiFi.
-
RMM instance needs to be connected to Datto Network Manager. The steps to do so are described in Understanding the Datto Networking RMM integration.
-
Validate that managed endpoints are not making use of MAC address obfuscation. You may wish to enforce this via group policy or RMM policies. Further reading:
- Windows 10/11 (external link)
- macOS (external link)
Procedure
After the integration is activated, the SafeCheck security policies will need to be applied to the networks where they should be enforced. To do so:
-
Navigate to portal.dattobackup.com
-
Log in with your Partner Portal credentials.
-
From the header menu, select Status > Networking Status.
-
Click on the Launch Network Manager button.
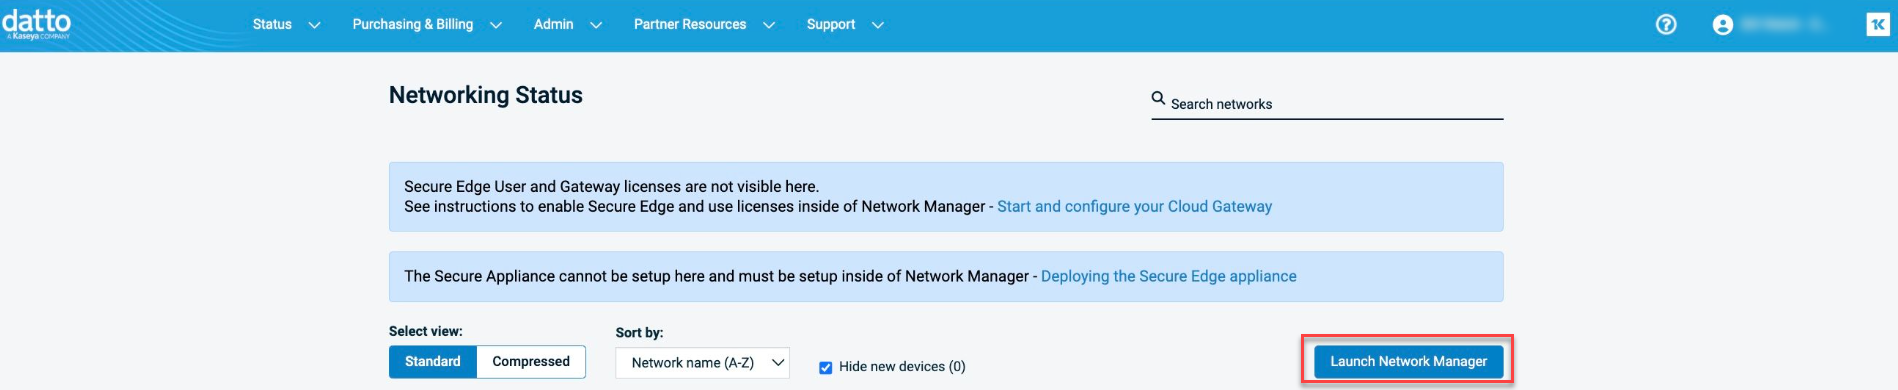
The All Networks page will be displayed.
-
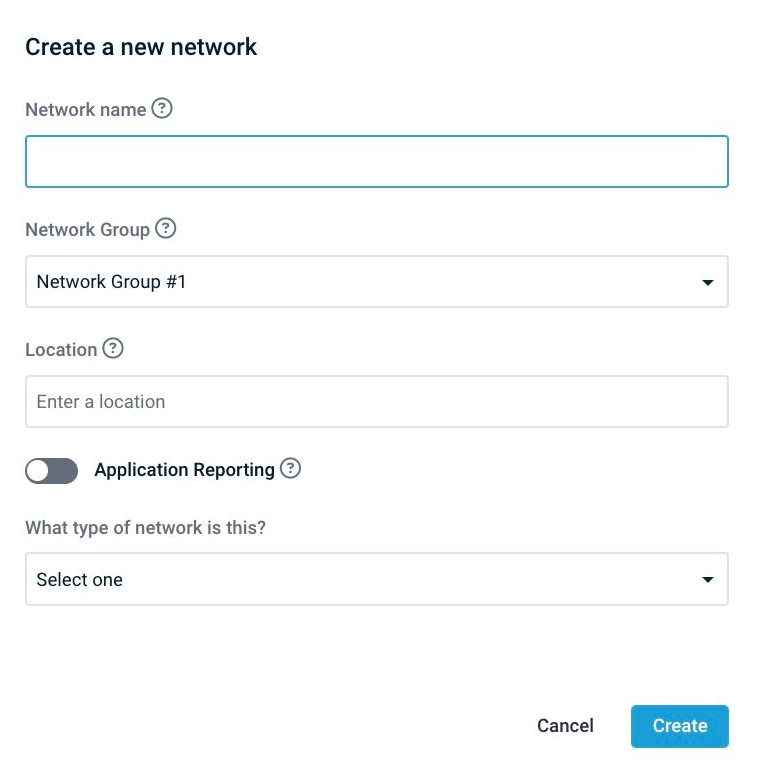
Click the Create Network button to create a new network or select the network to use with SafeCheck.
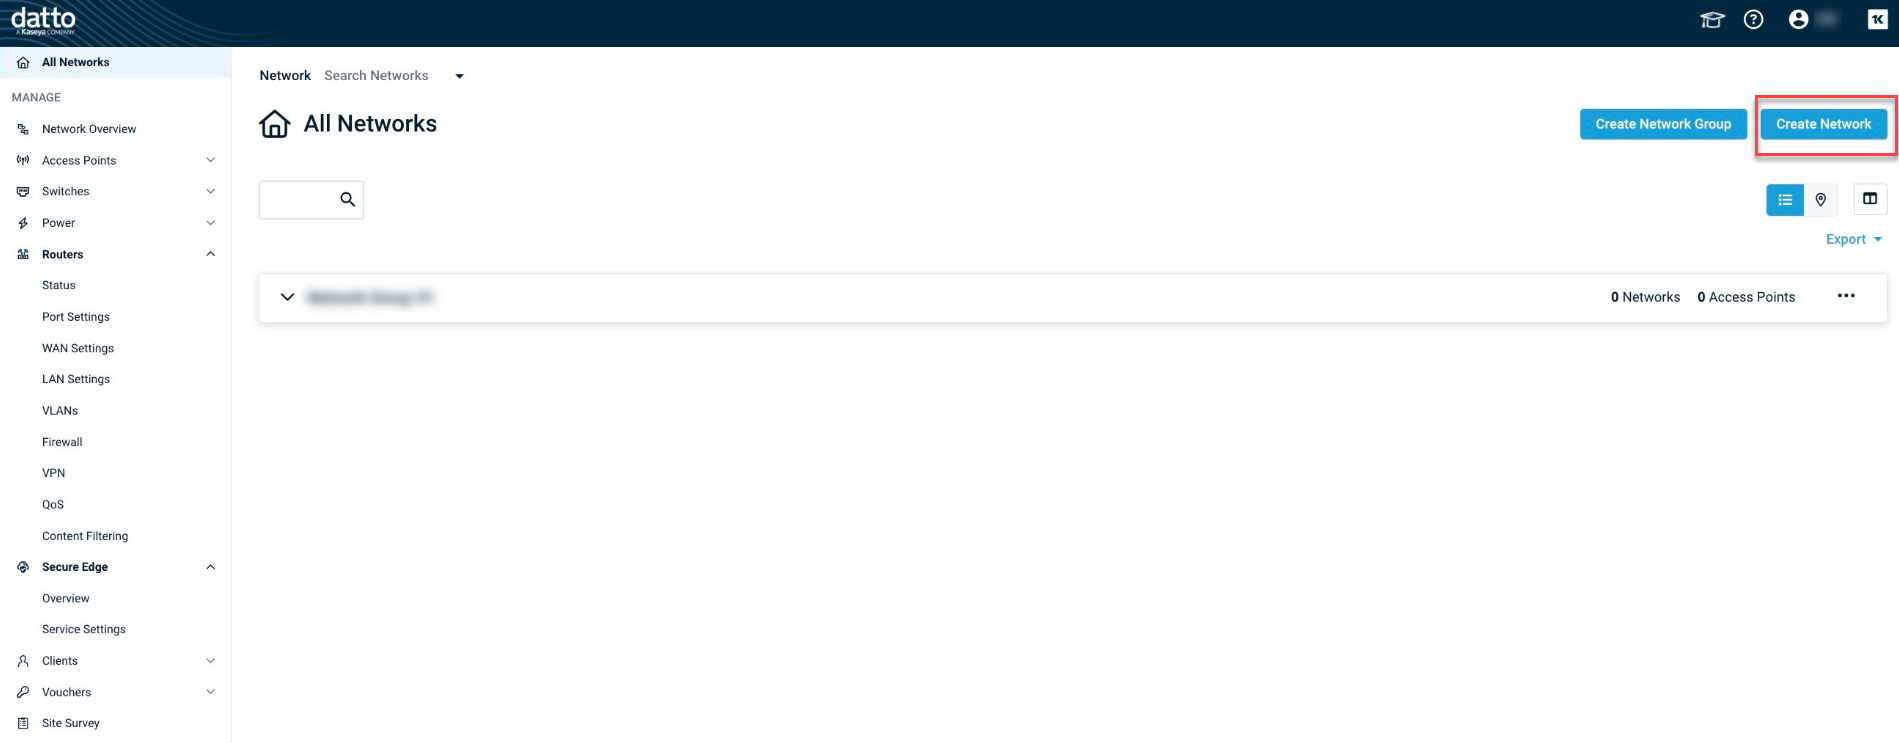
If creating a new network, fill out the form to proceed.
-
After deciding which SSID (1 through 4) to utilize SafeCheck with, navigate to it under the Access Points section in the left hand menu.
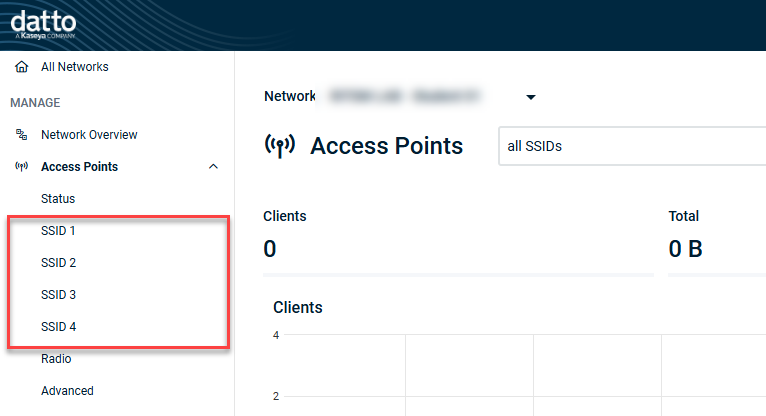
If this SSID is already in use, skip to Step 7.
-
If this SSID hasn't been used, enable the SSID and configure the name, band, and authentication settings.
-
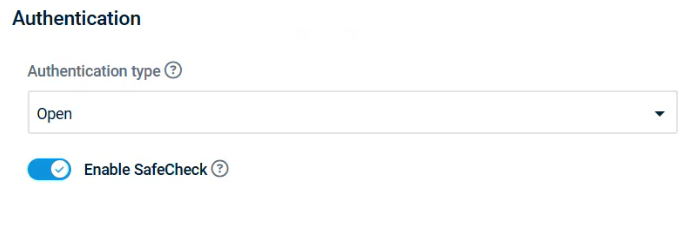
Under the Authentication section toggle Enable SafeCheck to turn on the feature for that SSID.
-
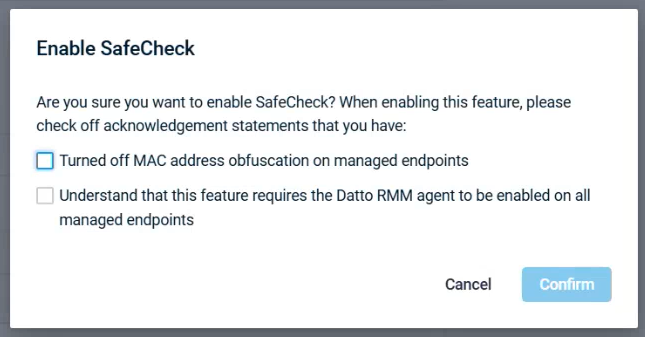
Check the boxes to acknowledge the statements and click Confirm.
Alerting 
Once SafeCheck has been enabled an event log entry will indicate when a wireless client (station or STA) attempted to connect to the wireless network. From the Network Overview page, the event (wifi.safe-check-permit/wifi.safe-check-deny) will show: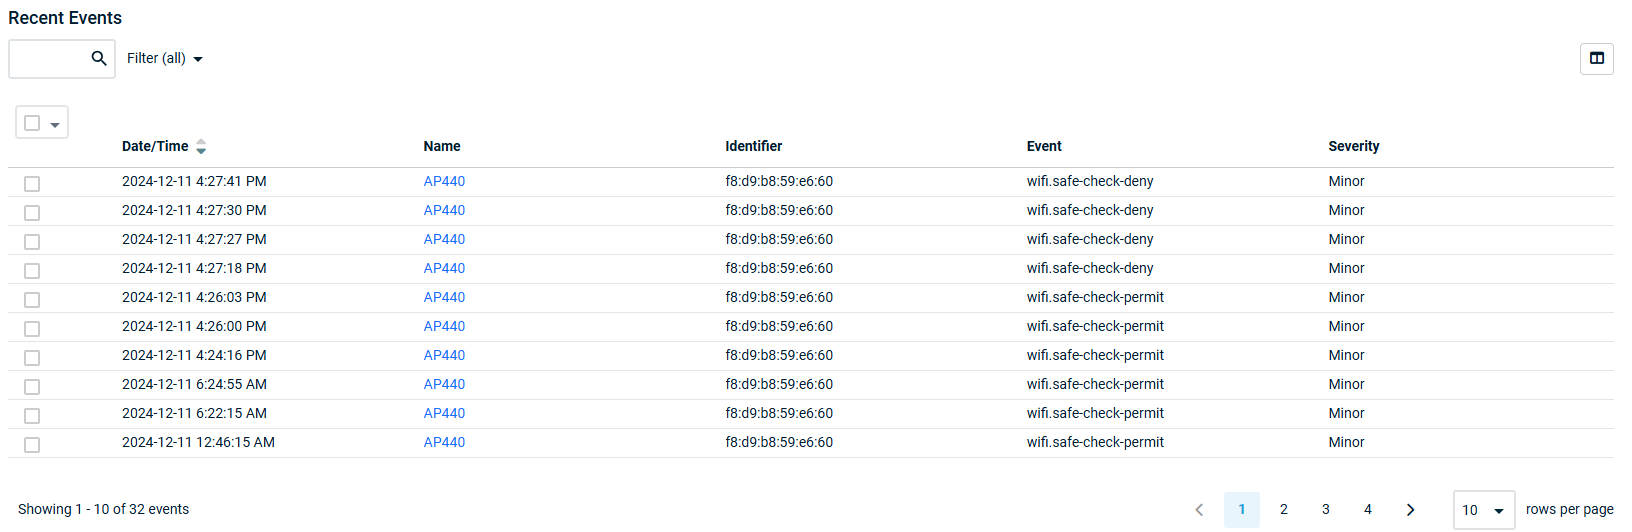
- Timestamp
- Access Point
- Device MAC address
- SafeCheck posture check outcome (pass/allow)
The event can be used to generate PSA tickets through either the Autotask or BMS integration.
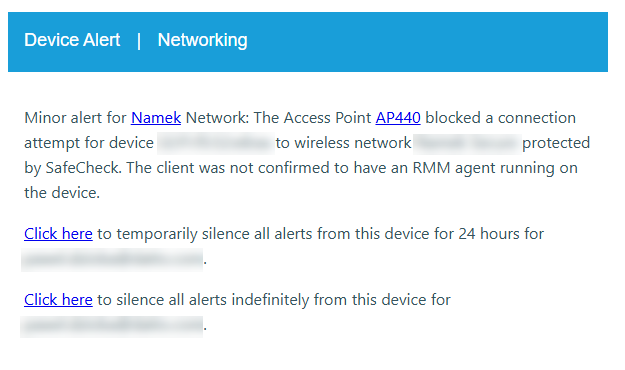
In addition, this information will be provided in an email update unless configured otherwise.
-
Trusted client allowed:
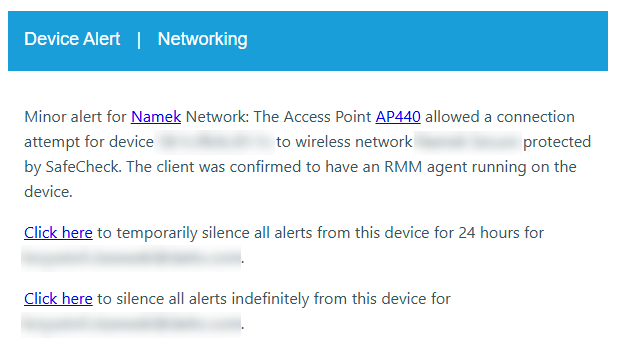
-
Untrusted client denied: